
Rendering beef tallow at home is easier than you might think and comes with several benefits: it can save you money, reduce kitchen waste, and give you full control over the quality of the fat you use.
If you’re ready to swap out vegetable oils or pricey cooking fats with something more traditional and potentially healthier, rendering your own tallow is a fantastic place to start. In this guide, we’ll walk through every step, from choosing your fat source to proper storage of the final product.
Here’s a nice video of the process:
What You’ll Need
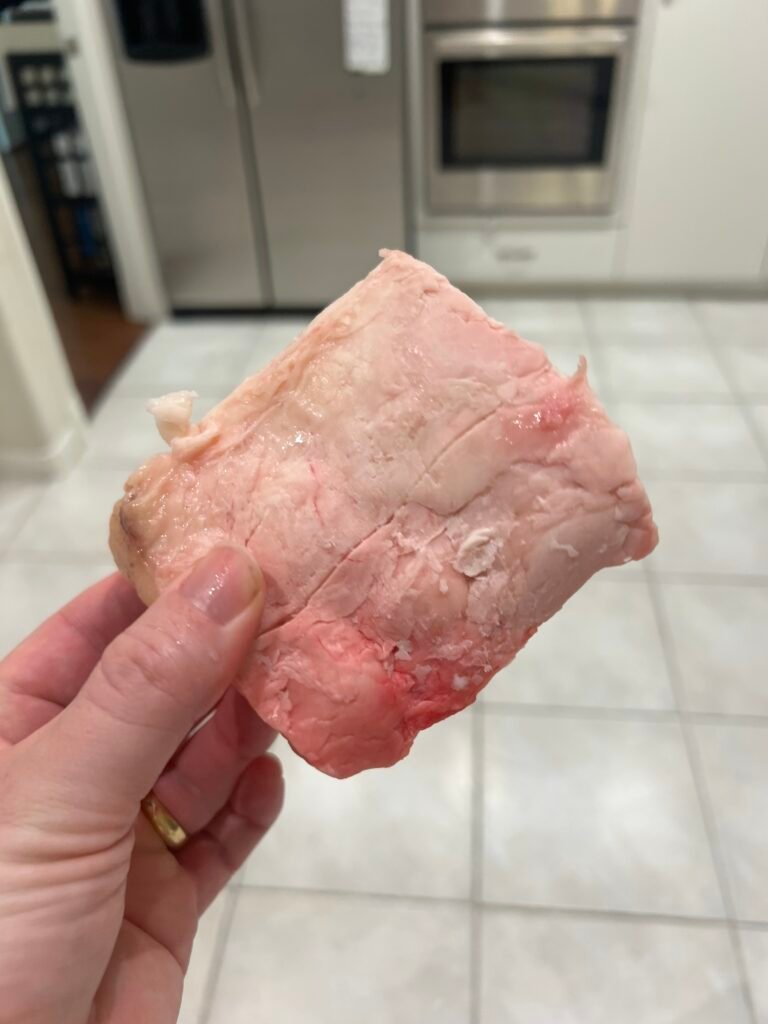
- Beef Fat (Suet or Trimmings)
- Suet is the hard, nutrient-dense fat located around a cow’s kidneys and loins, typically offering the cleanest flavor.
- Other Trimmings like scraps from steak or roast can also be used but might yield a slightly different flavor or aroma.
- Equipment
- Knife: A sharp kitchen knife for trimming and dicing fat.
- Cutting Board: Preferably one you reserve for raw meat to avoid cross-contamination with produce.
- Heavy-Bottomed Pot or Slow Cooker: To prevent scorching, choose a pot that can handle low, steady heat.
- Strainer or Cheesecloth: For filtering out the browned bits (known as cracklings).
- Heatproof Containers: Glass jars or sturdy plastic containers to store your rendered tallow.
- (Optional) Thermometer: Useful for maintaining an even temperature, but not strictly necessary.
Choosing the Right Fat
- Grass-Fed vs. Grain-Fed: Grass-fed beef fat often contains a higher concentration of certain nutrients like CLA (Conjugated Linoleic Acid) and may have a milder flavor. Grain-fed is typically more affordable and widely available.
- Freshness Matters: The fresher the fat, the less likely your tallow will have off-smells or flavors. Check with your local butcher or farmers’ market for suet or fat trimmings that haven’t been sitting around too long.
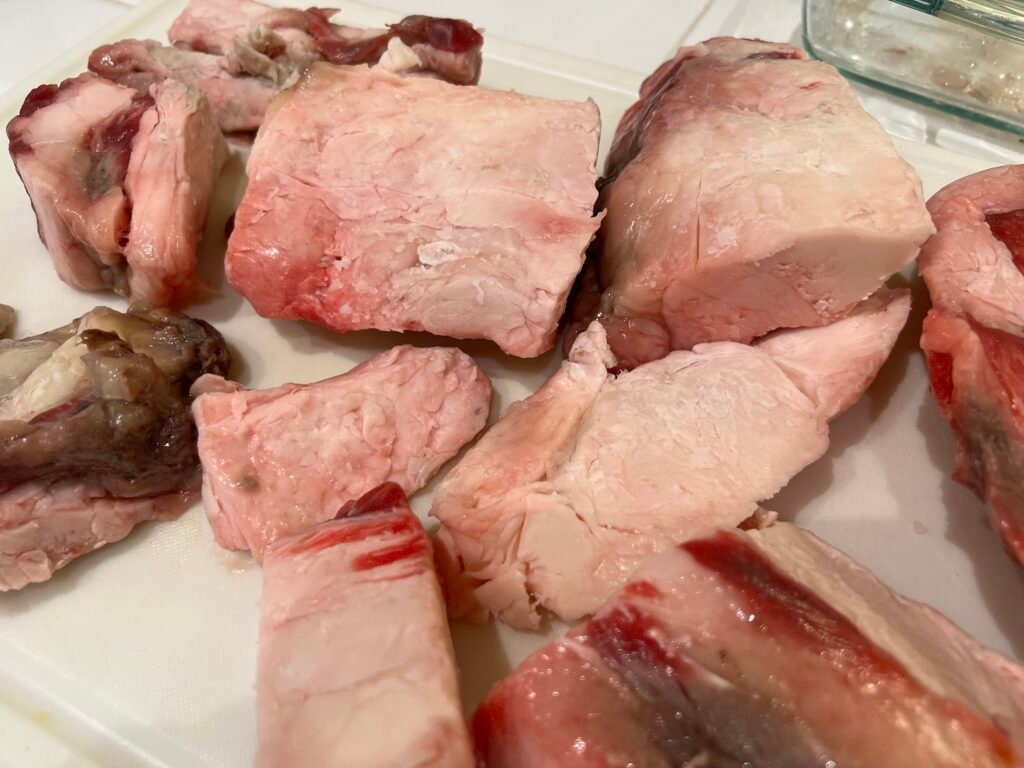
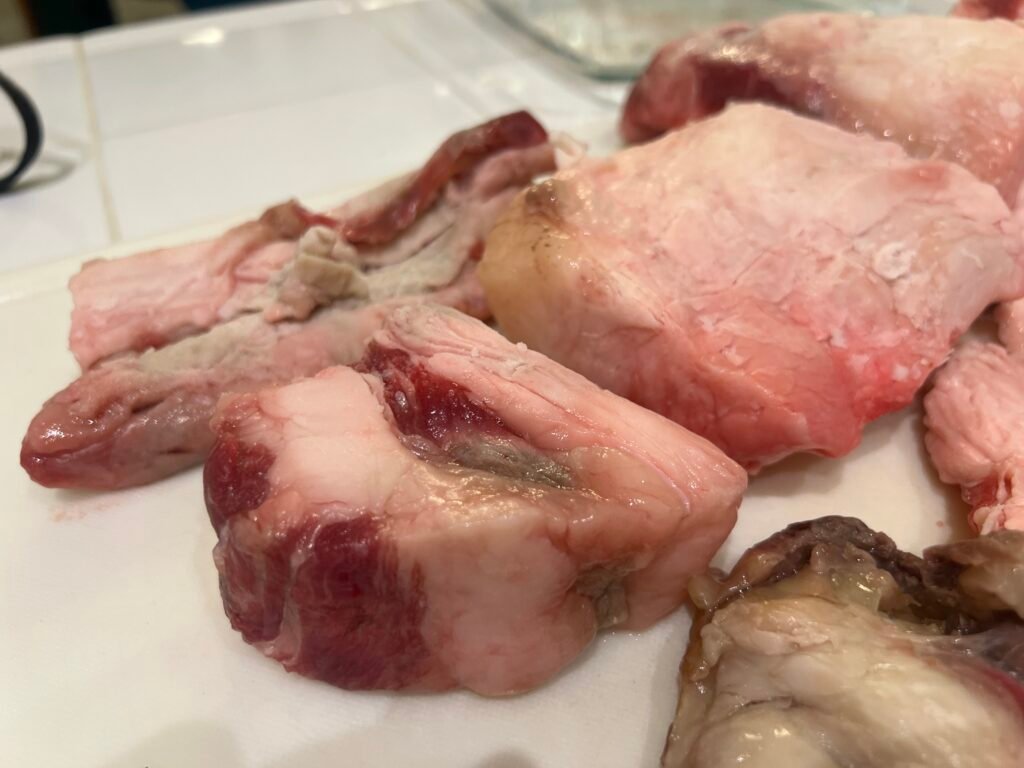
Step 1: Prep the Fat
- Trim Away Excess Meat: Using a sharp knife, remove any visible bits of lean meat from the fat. It’s okay to leave some traces, but large chunks can hinder a clean render and add a beefy taste.
- Chop into Uniform Pieces: The smaller and more uniform the pieces, the quicker and more evenly they’ll render. Aim for cubes around ½ to 1 inch in size. If using suet, you may notice a denser texture that’s easier to chop.
Tip: If you find the fat difficult to cut, briefly freeze it. This firms up the fat, making it less slippery and easier to handle.
Step 2: Select a Rendering Method
There are two primary methods for rendering tallow: dry rendering and wet rendering. Both are effective but yield slightly different results.
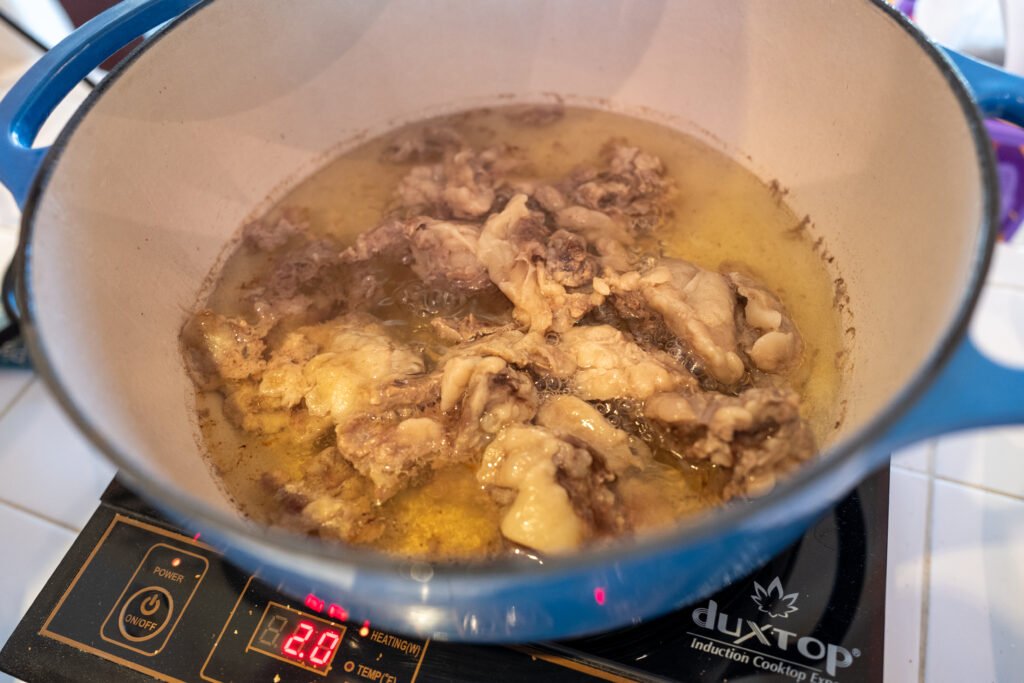
Dry Rendering
- Heat a Heavy-Bottomed Pot: Place the pot over low heat.
- Add Fat: Add your chopped fat, stirring occasionally to prevent sticking.
- Slowly Melt: Continue cooking on low to medium-low until most of the fat has melted. You’ll see browned bits (cracklings) rise to the surface.
- Monitor for Browning: Keep an eye on the color. If the bits start browning too fast, reduce the heat. Over-browning can impart a burnt or overly “roasted” flavor.
Pros: Straightforward, easy to do in one pot, yields a concentrated flavor.
Cons: More prone to scorching if heat is too high.
Wet Rendering
- Combine Fat and Water: Place the chopped fat in a pot, then add enough water to just cover the fat.
- Bring to Simmer: Heat on medium until the water begins to simmer, then reduce to low heat.
- Evaporate Water: Over time, the water will evaporate, leaving behind rendered fat.
- Strain: Once the fat has mostly separated from any solids, strain out the cracklings.
Pros: Reduces the risk of scorching, often results in a lighter-colored, milder-flavored tallow.
Cons: Takes a bit longer due to the extra step of evaporating water.
Step 3: Strain and Filter
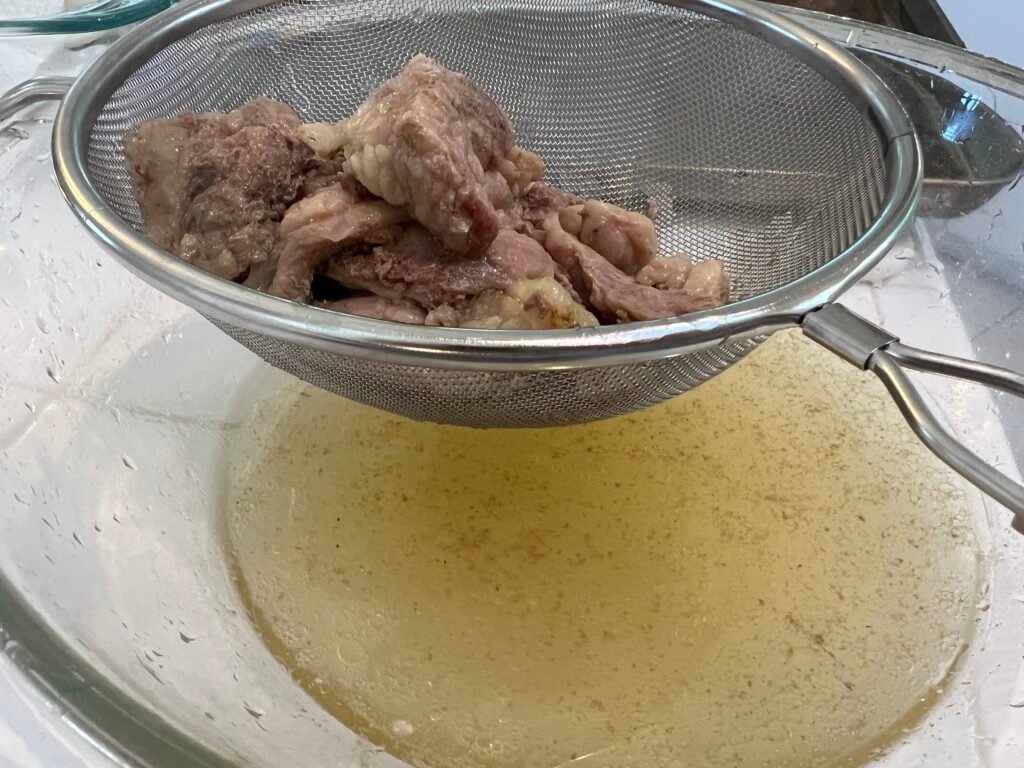
Once you notice that the fat has mostly liquefied and only small, browned pieces remain:
- Turn Off the Heat: Let the pot sit for a minute or two.
- Set Up Your Strainer: Place a metal strainer lined with cheesecloth over a heatproof bowl or measuring cup.
- Pour Carefully: Slowly pour the melted fat through the strainer, capturing any cracklings or debris.
- Optional Second Strain: If you want an even purer tallow, use a fresh layer of cheesecloth and strain one more time. This helps remove any small particles, resulting in a cleaner taste and a longer shelf life.
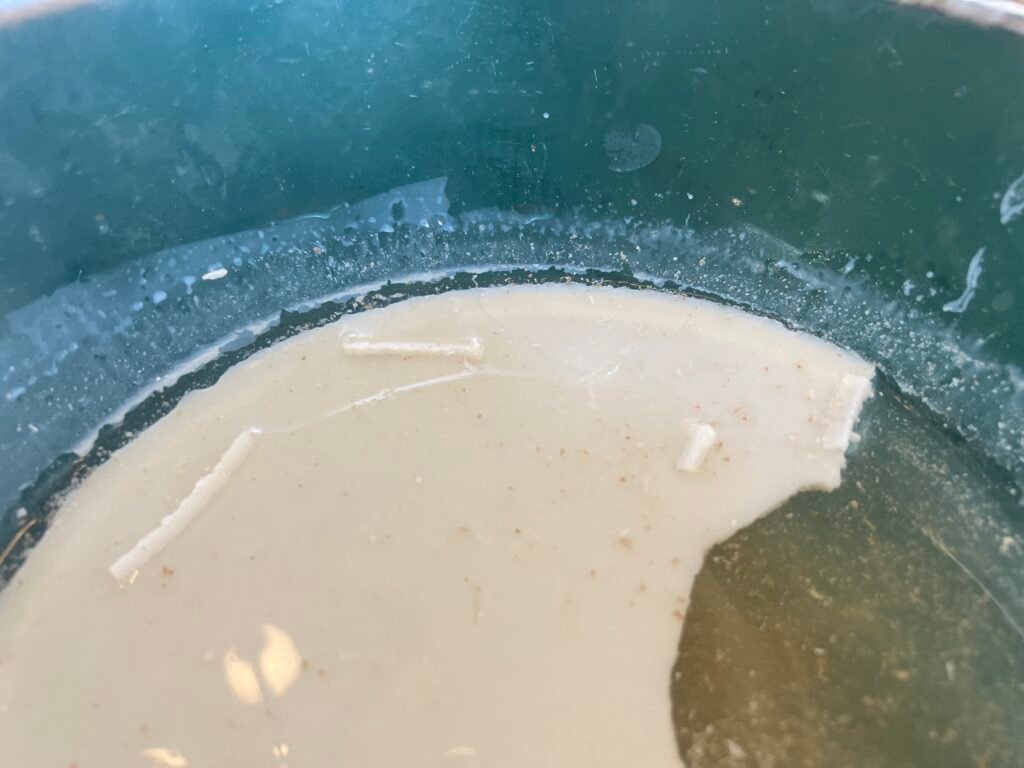
I find one of the easiest solutions–especially for wet rendering–is to place the liquid tallow/water mixture into the fridge for a few hours.
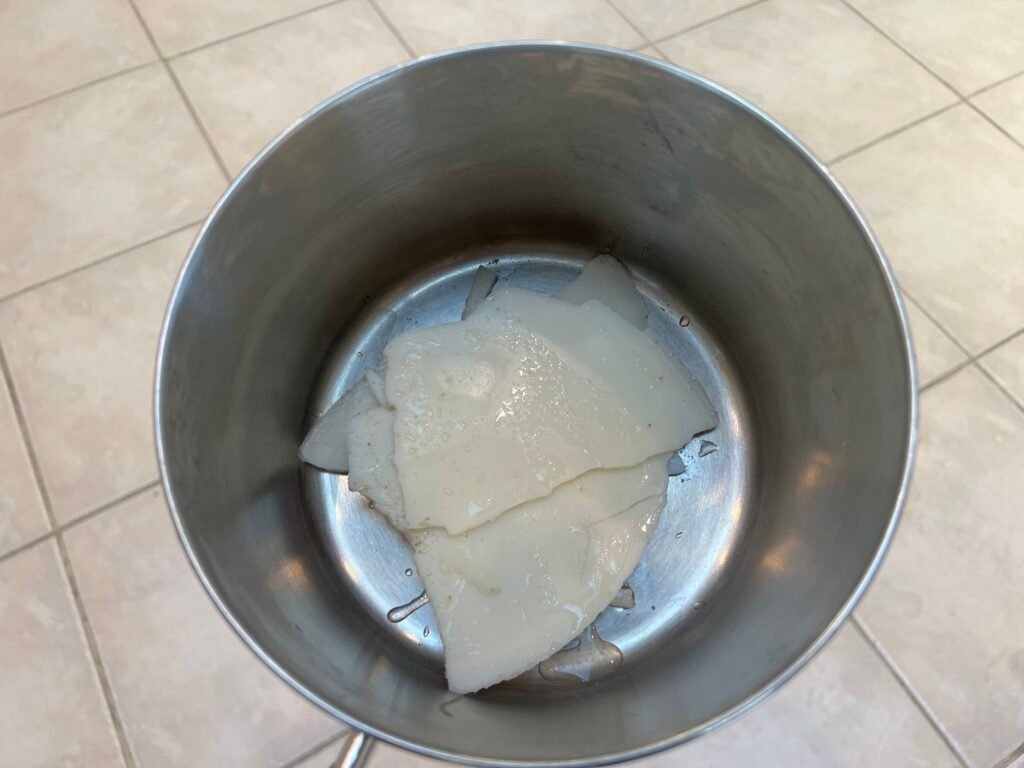
The tallow will solidify and float to the top. You can then remove it, melt it again, and move on to the next step.
Step 4: Collect the Cracklings
The browned bits left in the strainer are your cracklings—tiny morsels of crispy beef. Some people discard them, but they can be a delicious snack or topping on salads, soups, or omelets. Pat them dry on a paper towel and store in an airtight container for up to a week in the fridge.
Step 5: Cool and Store
- Transfer to Containers: Pour the filtered tallow into clean, heatproof jars.
- Allow to Cool: Let them sit at room temperature until they begin to solidify.
- Label and Date: For easy tracking, add a small label or piece of masking tape indicating the date.
- Refrigerate or Freeze (Optional): If you plan to use your tallow within a few weeks, storing it in a cool, dark pantry is typically fine. For longer storage, keep it in the fridge for up to several months or the freezer for up to a year.
Note: Properly rendered tallow should be creamy white or pale yellow when fully cooled. If it looks dark or grayish, it may have been overheated or contained too many impurities.

Troubleshooting & Tips
- Overpowering Beef Smell:
- Cause: High heat or too many meat remnants during rendering.
- Solution: Try a wet render next time or be more diligent in trimming away lean bits.
- Tallow Doesn’t Solidify:
- Cause: Not all fats are created equal; some portion of the fat may be from more gelatinous tissue.
- Solution: Store it in the fridge. It will firm up, but be mindful that some beef fats yield a slightly softer tallow.
- Dark or Burnt Color:
- Cause: Heat was too high, or it rendered for too long without stirring.
- Solution: Use a lower heat setting and stir frequently. Consider a wet rendering approach for gentler heat transfer.
- Rancid Odor:
- Cause: Spoiled or old fat, or storing tallow improperly.
- Solution: Always use fresh fat and store rendered tallow in airtight containers away from light and heat.
Uses for Your Rendered Tallow
- High-Heat Cooking: Frying, roasting, and sautéing—tallow’s high smoke point makes it ideal for crispy dishes.
- Baking & Pastries: Replace shortening or butter in pie crusts or biscuits for a flaky, rich texture.
- Soap & Candle Making: Tallow is a traditional ingredient in both, providing a firm texture.
- Skincare: Some people use lightly scented or unscented tallow balms for moisturizing.
- Leather Conditioning: A dab of tallow can help soften and protect leather goods.
Conclusion
Rendering beef tallow at home might sound like an old-fashioned technique, but it’s a simple process that can enhance both your culinary ventures and household projects. With just a little bit of prep, careful low-heat cooking, and good filtration, you can transform leftover beef fat into a versatile, shelf-stable cooking staple.
By using suet or trimmings you might otherwise discard, you’re also embracing a more sustainable, nose-to-tail approach that honors the entire animal. Whether you’re seeking a healthier alternative to vegetable oils, looking for the perfect fry medium, or exploring DIY candles and soaps, homemade tallow is a rewarding—and delicious—solution.
So roll up your sleeves, gather your materials, and enjoy the satisfaction of making your own traditional cooking fat. It’s a practice your taste buds (and possibly your budget) will thank you for.